The Taylor Pool Test Kit provides essential tools for monitoring pool water quality. It includes tests for pH, chlorine, alkalinity, and more. Regular testing ensures safety and clarity. This guide offers step-by-step instructions for accurate results and maintenance tips to keep your pool safe and enjoyable year-round.

1.1 Overview of the Taylor Pool Test Kit
The Taylor Pool Test Kit is a comprehensive tool designed for monitoring pool and spa water quality. It includes tests for pH, chlorine, bromine, alkalinity, calcium hardness, cyanuric acid, and salt levels. The kit is available in various models, such as the K-2005C and K-2006, catering to different testing needs. It provides accurate results using reagents and comparators, ensuring safe and balanced water conditions. This kit is essential for maintaining crystal-clear water and preventing issues like corrosion or eye irritation. Regular use helps pool owners uphold optimal water chemistry.
1.2 Importance of Regular Pool Water Testing
Regular pool water testing is crucial for maintaining a safe and healthy swimming environment. It ensures balanced chemical levels, preventing eye irritation and skin discomfort. Testing also helps avoid costly damage to pool equipment and surfaces. Consistent monitoring prevents algae growth, cloudy water, and harmful bacteria. By using the Taylor Pool Test Kit, pool owners can make informed adjustments, ensuring optimal water quality and a longer lifespan for pool components. Regular testing is key to protecting both swimmers and the pool itself, making it a vital part of routine maintenance.
Understanding the Components of the Taylor Test Kit
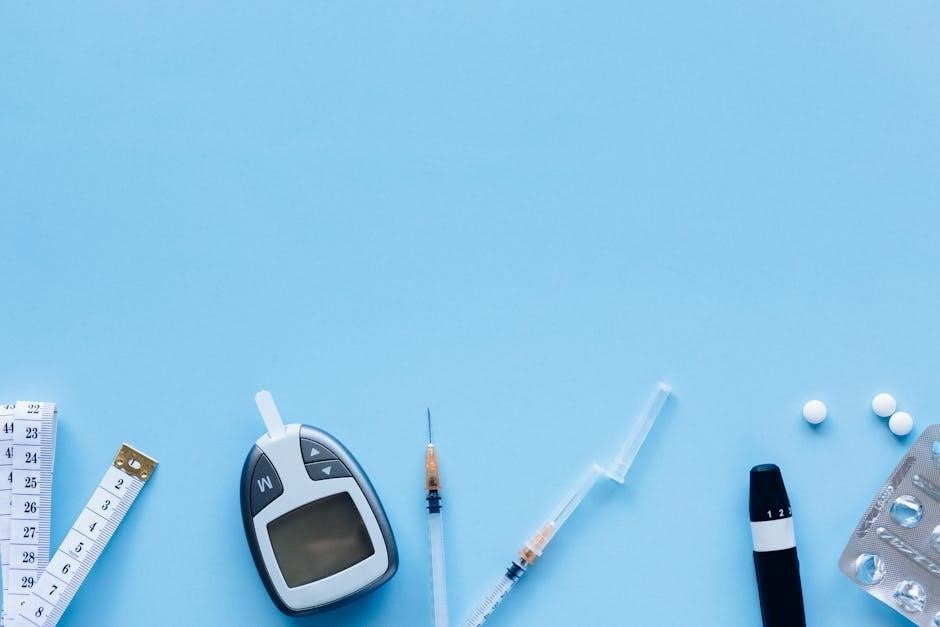
The Taylor Test Kit contains essential items for accurate pool water testing, including reagents, test tubes, a comparator, and instructions. It ensures reliable results while adhering to safety and storage guidelines.
2.1 List of Tests Included in the Kit
The Taylor Pool Test Kit includes tests for pH, free and combined chlorine, total alkalinity, calcium hardness, and cyanuric acid. It also offers a salt test for saltwater pools. Each test provides clear, accurate readings to ensure optimal water balance. The kit is designed to cover all essential parameters for maintaining safe and healthy pool conditions. Refer to the instructions for specific test procedures and reagent usage. The kit may vary slightly depending on the model, such as the K-2005C, but it consistently delivers comprehensive water quality analysis.
2.2 Key Reagents and Their Functions
The Taylor Pool Test Kit includes essential reagents like R-0007 and R-0008 for total alkalinity and pH testing, respectively. R-0870 is used for chlorine testing, while R-0715 is specific to saltwater pool testing. Each reagent is designed to react with water samples to provide accurate colorimetric results. Proper use of these reagents ensures reliable test outcomes. Always follow the instructions for correct dosage and handling to maintain test accuracy and kit longevity. Reagents should be replaced annually or as indicated by expiration dates.
2.3 Essential Equipment for Testing
The Taylor Pool Test Kit includes test tubes, a comparator, and a sample collection bottle. Test tubes are used to hold water samples, while the comparator helps match colors for accurate readings. A dropper is provided for adding reagents precisely. Additionally, a plastic bottle is included for collecting water samples at the correct depth. Proper care and rinsing of these components ensure accurate test results. Regularly inspect and replace worn or damaged equipment to maintain testing efficiency and reliability.
Safety Precautions and Storage Guidelines
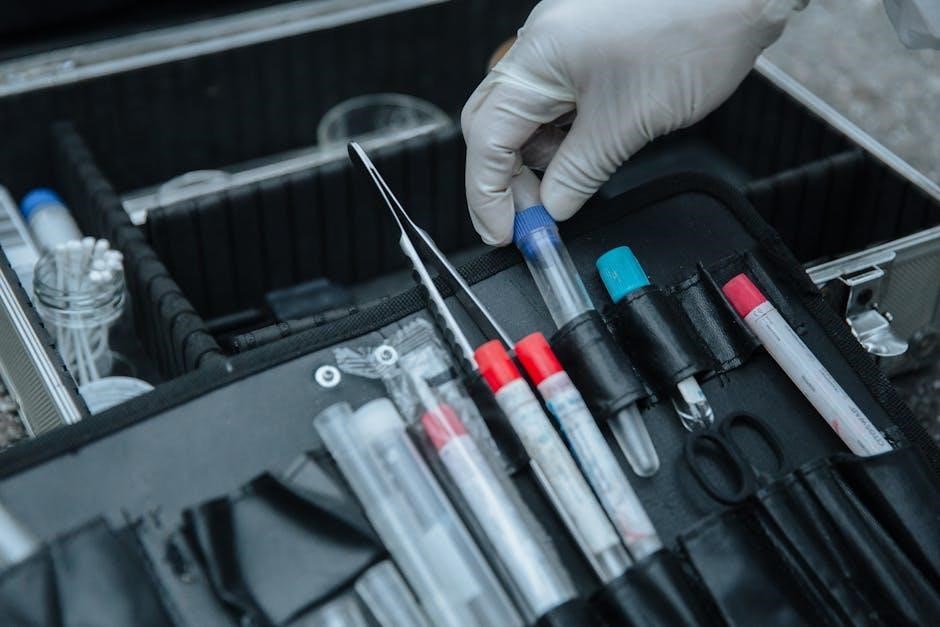
Keep the test kit out of children’s reach and store in a cool, dark place. Handle reagents carefully, avoiding skin contact. Dispose of solutions properly, not in the pool. Rinse equipment thoroughly before and after use to ensure accuracy and safety.
3.1 General Safety Tips for Handling Reagents
Wear protective gloves and goggles when handling reagents to avoid skin and eye irritation. Always read the labels carefully and follow the instructions provided. Ensure good ventilation in the area to prevent inhaling fumes. Avoid consuming food or drinks while handling chemicals. Keep reagents out of children’s reach and store them in their original containers. Wash hands thoroughly after handling reagents. Never mix reagents or pour them back into the bottle. Dispose of unused solutions according to the manufacturer’s guidelines, avoiding drainage into the pool or waterways. Check expiration dates before use to ensure accuracy and safety.
3.2 Proper Storage Conditions for the Test Kit
Store the Taylor Pool Test Kit in a cool, dry, and dark place to maintain reagent stability; Avoid exposure to direct sunlight, moisture, or extreme temperatures. Keep the kit away from children and pets. Ensure all containers are tightly sealed after use to prevent contamination. Replace reagents annually or as indicated by expiration dates. Do not store the kit near chemicals or cleaning supplies, as cross-contamination can occur. Proper storage ensures accurate test results and extends the kit’s longevity. Always check the kit’s condition before each use for optimal performance.
3.3 Disposal Guidelines for Chemical Solutions
Dispose of expired or unused Taylor Test Kit reagents responsibly. Never pour chemical solutions into the pool, spa, or drains, as they can harm aquatic life and contaminate water systems. Follow local regulations for hazardous waste disposal. Wear gloves and safety goggles when handling chemicals. Neutralize solutions if possible before disposal. Keep disposal areas away from children and pets. Proper disposal protects the environment and ensures compliance with safety standards. Always refer to the kit’s instructions or local guidelines for specific disposal methods.
General Testing Procedures
Prepare the test kit, collect water samples, and follow specific steps for each test. Rinse and maintain test tubes to ensure accurate and reliable results consistently.
4.1 Preparing the Test Kit for Use
Before testing, ensure all components are clean and within reach. Rinse test tubes thoroughly with pool water to prevent contamination. Check reagents for expiration dates and proper storage conditions. Verify the test kit is stored in a cool, dark place to maintain reagent accuracy. Familiarize yourself with the instructions and organize your workspace to streamline the testing process. Always handle reagents carefully, following safety guidelines to avoid accidents. Proper preparation ensures reliable results and efficient testing.
4.2 Collecting Water Samples Correctly
Collect water samples from 18 inches below the surface, avoiding the top or bottom layers. Use a clean, dry container to ensure accuracy. Avoid contaminating the sample with debris or chemicals. For saltwater pools, follow the same procedure but note any specific guidelines for salt testing. Proper sampling ensures reliable test results, helping you maintain balanced pool chemistry. Always rinse the collection container before use and fill it directly from the pool to avoid external contamination. This step is critical for obtaining accurate readings.
4.3 Rinsing and Maintaining Test Tubes
Rinse test tubes thoroughly with distilled water before and after each use to prevent cross-contamination; Avoid using tap water, as it may contain minerals that interfere with test results. Dry tubes with a lint-free cloth or allow them to air dry. Regularly inspect tubes for scratches or discoloration; replace them if damaged. Proper maintenance ensures accurate test results and extends the life of your test kit. Store tubes in a protective case when not in use to prevent breakage.

Step-by-Step Instructions for Specific Tests
Follow detailed procedures for pH, chlorine, alkalinity, and calcium hardness tests. Use specific reagents and methods outlined in the Taylor kit instructions for accurate results.
5.1 Testing for pH Levels
To test pH levels using the Taylor Pool Test Kit, fill the test tube to the 25 mL mark with pool water. Add 5 drops of the pH reagent (R-0008) and swirl gently. Compare the resulting color to the pH comparator chart to determine the pH level. Aim for a pH range of 7.2–7.8 for optimal swimmer comfort and sanitizer efficiency. Adjust chemicals as needed based on test results to maintain balanced water chemistry.
5.2 Measuring Chlorine Levels (Free and Combined)
To measure chlorine levels, fill the test tube to the 10 mL mark with pool water. Add one dipper of R-0870 reagent, swirl gently, and wait for the color to develop. Compare the color to the comparator chart to determine free chlorine levels. For combined chlorine, repeat the process with an additional dipper of R-0870. The target range for free chlorine is 1–3 ppm, while combined chlorine should ideally be below 0.5 ppm. Adjust chlorine levels as needed to maintain safe and effective sanitation.
5.3 Determining Total Alkalinity
To determine total alkalinity, fill the test tube to the 25 mL mark with pool water. Add two drops of R-0007 reagent and swirl to mix. Then, add five drops of R-0008 reagent and swirl again. The solution will turn green if alkalinity is present. Compare the color to the chart to find the total alkalinity level. The ideal range is 80–120 ppm. Adjust levels by adding stabilizer or acid to maintain water balance and prevent corrosion or scaling. Regular testing ensures optimal pool conditions and equipment longevity.
5.4 Testing for Calcium Hardness
To test for calcium hardness, fill the test tube to the 25 mL mark with pool water. Add five drops of the calcium reagent (R-0010) and swirl gently. The solution will turn blue. Compare the color to the chart to determine calcium levels. The ideal range is 175–275 ppm for pools. If levels are too low, add a calcium increaser; if too high, drain and refill with fresh water. Proper calcium hardness prevents corrosion and scaling, ensuring equipment longevity and swimmer comfort. Regular testing maintains balanced water chemistry.
5.5 Measuring Cyanuric Acid Levels
To measure cyanuric acid levels, fill the test tube to the 10 mL mark with pool water. Add 10 drops of the cyanuric acid reagent (R-0011) and swirl gently. The solution will turn yellow. Compare the color to the chart provided to determine the cyanuric acid concentration. The ideal range is 30–100 ppm for most pools. If levels are too low, add a stabilizer; if too high, drain and refill with fresh water. Proper cyanuric acid levels stabilize chlorine, preventing degradation from sunlight and ensuring effective sanitization. Regular testing helps maintain optimal pool chemistry and protects equipment from corrosion.
5.6 Testing for Salt Levels (in Saltwater Pools)
To test salt levels in saltwater pools, fill the test tube to the 10 mL mark with pool water. Add 10 drops of the salt test reagent (R-0012) and swirl gently. Allow the solution to react for 30 seconds. Compare the color to the provided chart to determine salt concentration. The ideal range is typically 2,700–3,700 ppm. If levels are too low, add salt; if too high, drain and dilute with fresh water. Proper salt levels ensure efficient chlorine generation and protect the saltwater chlorine generator from damage. Regular testing is crucial for maintaining optimal pool conditions and equipment longevity.

Reagent Replacement and Maintenance
Replace reagents annually or when expired. Store them in a cool, dark place. Dispose of solutions properly, not in the pool. Rinse test tubes thoroughly before and after use to maintain accuracy and ensure reliable results. Always follow the kit’s instructions for replacement and care to prolong the life of your test kit and ensure consistent testing accuracy.
6.1 When to Replace Reagents
Reagents should be replaced at least once a year or when they expire. Check expiration dates on the labels and replace them promptly. If reagents appear discolored, cloudy, or have sediment, they should be replaced immediately. Proper storage in a cool, dark place helps maintain their effectiveness. Failure to replace reagents can lead to inaccurate test results, compromising pool water safety and clarity. Always follow the manufacturer’s guidelines for replacement to ensure optimal performance of your Taylor Pool Test Kit.
6.2 How to Replace Reagents Properly
To replace reagents, first, purchase genuine Taylor replacement reagents from authorized dealers. Open the test kit and carefully remove the expired or used reagents. Dispose of them according to safety guidelines. Clean the reagent compartments with distilled water. Insert the new reagents, ensuring they are securely seated. Tighten any caps or lids provided. Double-check that all reagents are properly sealed to prevent contamination. Finally, verify the expiration dates of the new reagents and store the kit in a cool, dark place. Proper replacement ensures accurate test results.
Troubleshooting Common Issues
Identify and resolve issues like inaccurate test results, expired reagents, or contamination. Understand common problems and their solutions to ensure accurate pool water testing and maintenance.
7.1 Resolving Inaccurate Test Results
Inaccurate test results can occur due to expired or contaminated reagents, improper sample collection, or incorrect test procedures. Always use fresh reagents and follow instructions carefully. Ensure water samples are collected at the correct depth and avoid contamination. If results remain inconsistent, recalibrate your test tubes or replace faulty components. Regularly clean and maintain equipment to prevent errors. Refer to the user guide for troubleshooting specific issues and adjust testing techniques as needed to achieve reliable outcomes.
7.2 Dealing with Expired or Contaminated Reagents
Expired or contaminated reagents can lead to inaccurate test results. Replace reagents annually or as indicated by the manufacturer. Dispose of expired solutions according to guidelines, avoiding pool or spa disposal. If contamination occurs, discard the affected reagent and clean the storage area thoroughly. Always store reagents in a cool, dark place to maintain their effectiveness. Ensure reagents are tightly sealed when not in use to prevent contamination. Follow proper handling procedures to avoid cross-contamination and ensure reliable testing outcomes.

Maintenance and Care of the Test Kit
Regularly clean and store the test kit in a cool, dark place. Replace reagents annually and rinse test tubes thoroughly after each use to ensure accuracy and longevity.
8.1 Cleaning the Test Kit Components
Regular cleaning of the Taylor Pool Test Kit components is essential for accurate results. Rinse test tubes thoroughly with water before and after each use to remove any chemical residue. Use a soft cloth to wipe down the kit’s exterior and internal parts, ensuring no moisture remains. Avoid using harsh chemicals or abrasive materials that could damage the equipment. Properly dry all components after cleaning to prevent contamination and maintain their effectiveness. This routine will extend the lifespan of your test kit and ensure reliable testing outcomes.
8.2 Storing the Kit to Ensure Longevity
To maintain the longevity of your Taylor Pool Test Kit, store it in a cool, dark place away from direct sunlight and moisture. Keep the kit out of reach of children and pets. Ensure all components are dry and securely organized in their designated compartments. Regularly inspect reagents for expiration dates and replace them as needed. Proper storage conditions will prevent contamination, extend the life of the kit, and ensure accurate testing results. This will help maintain your pool’s water quality and safety over time.

Interpreting Test Results
Compare your test results to the ideal parameter ranges for pH, chlorine, and alkalinity. Adjust chemicals as needed to maintain safe and balanced pool water conditions.
9.1 Understanding Ideal Water Parameter Ranges
For optimal pool water quality, maintain pH levels between 7.2 and 7.8. Chlorine levels should range from 1 to 3 ppm for free chlorine and 3 to 5 ppm for combined chlorine. Total alkalinity should be between 80 and 120 ppm, while calcium hardness should be 200 to 400 ppm. Cyanuric acid levels should be 30 to 50 ppm. These ranges ensure swimmer comfort, equipment longevity, and effective sanitizer performance. Adhering to these guidelines helps maintain a safe and enjoyable swimming environment.
9.2 Adjusting Pool Chemistry Based on Results
Based on test results, adjust pool chemistry to maintain optimal levels. If pH is low, add a pH increaser; if high, use a pH decreaser. For low chlorine, add granules or tablets. If total alkalinity is low, introduce an alkalinity booster, and if high, use pH decreaser to reduce it. Adjust calcium hardness by adding stabilizer or conditioner as needed. Always follow manufacturer instructions for adjustment products and retest after 24 hours to ensure balanced levels. Proper adjustments ensure water clarity, swimmer comfort, and equipment protection.
Regular testing with the Taylor Pool Test Kit ensures safe and clear water. Always follow instructions, retest after adjustments, and maintain proper chemical levels for optimal pool conditions.
10.1 Best Practices for Consistent Testing
For consistent and accurate results, always follow the Taylor Pool Test Kit instructions carefully. Store the kit in a cool, dark place to maintain reagent potency. Rinse test tubes thoroughly before and after each use to prevent contamination. Replace reagents annually or as indicated by expiration dates. Collect water samples at the same depth and time for consistency. Avoid cross-contaminating solutions, and dispose of chemical waste properly. Regularly clean and maintain the kit to ensure longevity and reliable performance. Consistent testing habits will help keep your pool water safe and balanced year-round.
10.2 Importance of Regular Testing for Pool Safety
Regular testing is crucial for ensuring pool safety and maintaining optimal water conditions. It helps detect imbalances in pH, chlorine, and other key parameters, preventing issues like eye irritation or equipment damage. Consistent testing also safeguards against bacterial growth, which can pose health risks to swimmers. By following the Taylor Pool Test Kit instructions, you can identify and correct issues promptly, ensuring a safe and enjoyable swimming environment for everyone. Regular testing is a proactive approach to protecting both swimmers and pool equipment year-round.


