This thoroughly revised third edition expands perspectives on environmental issues, incorporating new case studies and updated concepts,
plus dedicated sections on racialized environments and feminist viewpoints.
Overview of the Book’s Scope
The book’s scope extends beyond traditional ecological studies, delving into the social construction of nature, environmental justice, and the disproportionate impacts of environmental degradation on vulnerable populations. It provides a critical lens through which to analyze pressing global challenges like climate change, deforestation – illustrated by a compelling case study of Meghalaya – and water stress.
Furthermore, the book investigates environmental reporting and assessment, using New Zealand’s environmental reporting series as a practical example. Ultimately, it aims to equip readers with the interdisciplinary tools necessary for critical thinking and informed action regarding environmental issues.
Key Themes and Arguments

Key themes include a critical examination of environmental determinism versus environmental possibilism, highlighting how human agency interacts with environmental constraints. The text also powerfully addresses the social construction of nature, revealing how perceptions of the environment are shaped by societal norms.
Furthermore, the book underscores the critical importance of recognizing racialized environments and integrating feminist perspectives into environmental analysis. It argues that climate change exacerbates existing social vulnerabilities, leading to displacement and insecurity, and that effective solutions require interdisciplinary approaches and a commitment to environmental justice.

Part I: Core Concepts and Perspectives
This section delves into foundational concepts like environmental determinism, possibilism, the social construction of nature, and explores feminist and racialized environmental lenses.
Environmental Determinism vs. Environmental Possibilism
Historically, environmental determinism posited that the physical environment dictates societal development and human actions – a now largely discredited view. This perspective suggested cultures were directly shaped by their landscapes, implying some were inherently superior.
In contrast, environmental possibilism, emerging as a critique, argues that the environment sets constraints but does not rigidly determine outcomes. Humans possess agency and can adapt to, and modify, their surroundings.
The key difference lies in the degree of human agency. Possibilism acknowledges environmental influence while emphasizing cultural innovation and choice.

However, a nuanced understanding recognizes the interplay between both forces; environments matter, but human decisions and social structures mediate their impact, shaping diverse responses to similar environmental conditions. The book critically examines these perspectives.
Social Construction of Nature
The concept of “nature” isn’t a neutral, objective reality, but rather a socially constructed idea. Different cultures and historical periods define and value nature in vastly different ways. What is considered “natural” is often shaped by power dynamics, economic interests, and cultural beliefs.
This perspective challenges the notion of a pristine wilderness untouched by humans. Even seemingly remote areas bear the imprint of past and present human interactions. The very idea of “conservation” reflects specific social values and priorities.
Understanding this construction is crucial because it reveals how environmental problems are framed, and whose interests are served by particular environmental policies.
The book explores how dominant narratives about nature can obscure underlying social inequalities and justify environmental exploitation. Recognizing the social construction of nature allows for more critical and equitable environmental approaches.
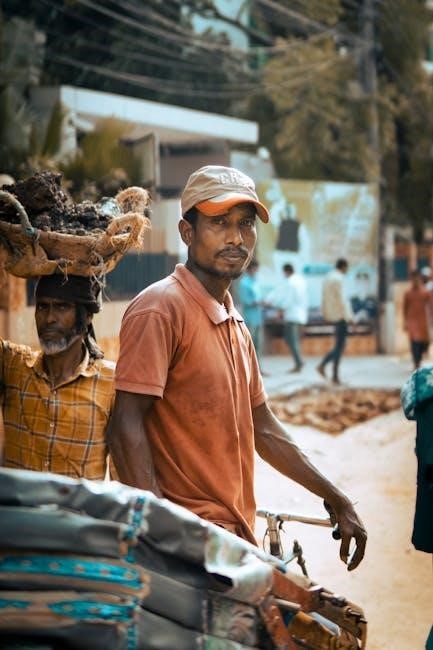
Racialized Environments
This critical lens examines how environmental hazards and benefits are unevenly distributed along racial lines. Communities of color are disproportionately exposed to pollution, toxic waste, and the impacts of climate change, a pattern rooted in historical and ongoing systemic racism.
The book highlights how discriminatory policies and practices – such as redlining and zoning laws – have created “sacrifice zones” where marginalized communities bear the brunt of environmental burdens. This isn’t accidental; it’s a consequence of power imbalances and environmental injustice.
Furthermore, it explores how racialized narratives often portray certain groups as being less connected to or less deserving of environmental protection. Challenging these biases is essential for achieving environmental equity.
Understanding racialized environments is vital for developing solutions that address both environmental problems and social inequalities simultaneously.
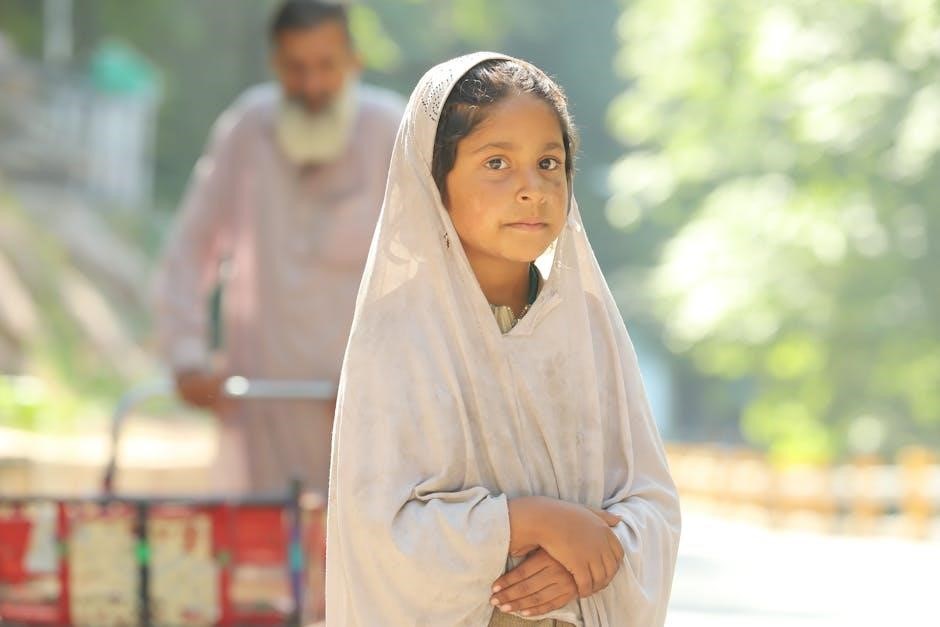
Feminist Approaches to Environmental Issues
This section introduces how feminist perspectives fundamentally reshape our understanding of environmental problems and solutions. Traditional environmental approaches often overlook the gendered dimensions of environmental degradation and resource management.
The book demonstrates how women and marginalized genders often have distinct relationships with the environment, frequently bearing a disproportionate burden from environmental harms due to existing social inequalities. These inequalities impact access to resources, decision-making power, and vulnerability to environmental disasters.
It explores ecofeminist thought, which links the domination of women and the domination of nature, arguing that both stem from patriarchal structures.

Moreover, it emphasizes the importance of incorporating diverse feminist voices and knowledge systems into environmental policy and practice, promoting more just and sustainable outcomes for all.
Part II: Environmental Problems and Social Impacts
This part delves into critical issues like climate change vulnerability, deforestation’s impact on communities—illustrated by the Meghalaya case—water stress, and displacement.
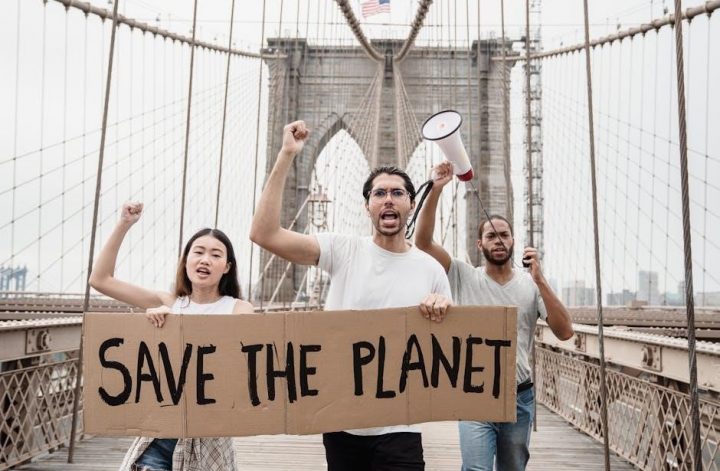
Climate Change and Social Vulnerability
The escalating impacts of extreme weather and disasters disproportionately affect vulnerable populations, creating significant challenges. Millions experience job losses, declining health, food insecurity, and increasing water stress due to a changing climate.
Furthermore, climate change drives migration and forced displacement, severing community ties and leading to loss of homes and livelihoods. This section of the book critically examines these interconnected issues, exploring how social inequalities exacerbate climate vulnerability. It investigates the ways in which existing power structures and systemic disadvantages determine who bears the brunt of environmental change.
The analysis extends to understanding the complex interplay between climate impacts and social factors, highlighting the need for equitable and just adaptation and mitigation strategies. It emphasizes the importance of addressing the root causes of vulnerability to build resilient communities.
Deforestation and Community Livelihoods (Meghalaya Case Study)
This case study focuses on Meghalaya, India, where a novel approach to forest management is revitalizing degraded landscapes and supporting tribal communities. The initiative centers on reforestation efforts, aiming to restore hillsides and revive dwindling springs – vital resources for local livelihoods.
The approach moves beyond traditional conservation models by actively involving communities in the process, fostering a “green economy” and creating new, nature-based income opportunities. This demonstrates a shift towards sustainable practices that simultaneously address environmental degradation and socio-economic needs.
The book analyzes how this integrated strategy empowers local populations, promoting ecological restoration while enhancing their resilience and well-being. It highlights the importance of recognizing indigenous knowledge and community ownership in successful environmental management.
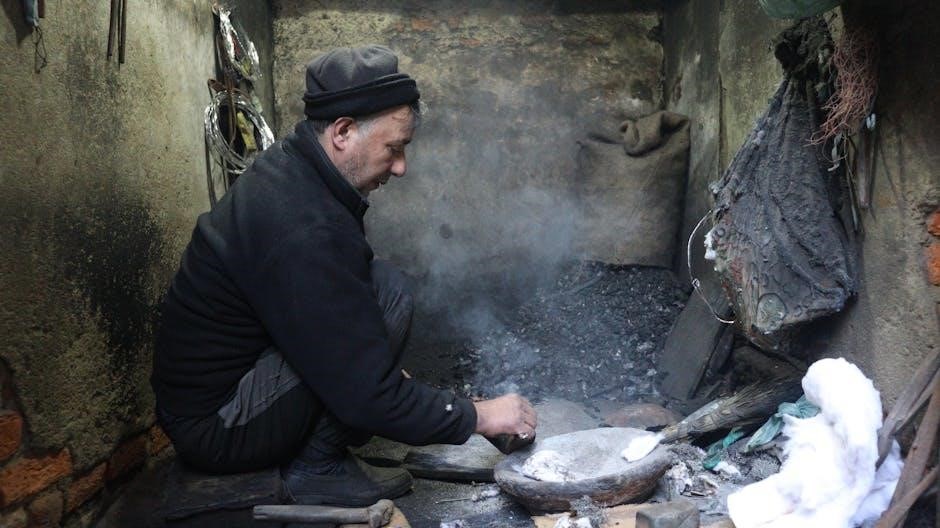
Water Stress and Environmental Justice
The text highlights the growing issue of water stress as a critical environmental concern, deeply intertwined with social justice. It emphasizes how vulnerable populations disproportionately bear the brunt of water scarcity and contamination, exacerbating existing inequalities.
Climate change intensifies these challenges, leading to more frequent and severe droughts, floods, and disruptions to water supplies. This, in turn, impacts livelihoods, health, and overall well-being, particularly for communities already marginalized due to poverty, race, or other factors.
The book examines how access to clean and sufficient water is not merely an environmental issue, but a fundamental human right. It explores the power dynamics and systemic injustices that contribute to water stress and advocates for equitable water management policies.
Environmental Degradation and Forced Displacement
The book powerfully connects environmental decline with the escalating crisis of forced displacement. It details how deforestation, desertification, and climate change-induced disasters – like extreme weather events – are increasingly rendering areas uninhabitable, compelling communities to leave their homes.
Millions face job losses, health impacts, food insecurity, and the loss of community ties as a direct result of environmental degradation. This displacement isn’t random; it disproportionately affects vulnerable populations lacking the resources to adapt or relocate safely.
“Environment and Society” analyzes the complex interplay between environmental factors and political, economic, and social forces driving displacement, highlighting the urgent need for preventative measures and just solutions for those uprooted by environmental change.

Part III: Environmental Reporting and Assessment
This section examines environmental data collection and reporting, focusing on New Zealand’s series – “Our Environment 2025” and “Environment Aotearoa 2022” – for insightful analysis.
New Zealand’s Environmental Reporting Series: “Our Environment 2025”
“Our Environment 2025” represents the latest triennial assessment of New Zealand’s environmental state, meticulously produced by the Ministry for the Environment and Stats NZ. This comprehensive report operates under the framework established by the Environmental Reporting Act 2015, ensuring a consistent and legally-backed approach to environmental monitoring and communication.
The series provides crucial information regarding the health of New Zealand’s ecosystems, natural resources, and overall environmental quality. It’s designed to inform policymakers, stakeholders, and the public, fostering evidence-based decision-making. The report doesn’t exist in isolation; it builds upon previous assessments and integrates current scientific understanding.
Understanding the methodology and findings of “Our Environment 2025” is vital for grasping contemporary environmental challenges and potential solutions within a specific national context, offering a valuable case study for broader environmental assessment principles.
“Environment Aotearoa 2022” ౼ Synthesis Report
“Environment Aotearoa 2022” functions as a pivotal synthesis report, consolidating a wealth of environmental data and insights specific to New Zealand. This report doesn’t present entirely new primary research, but rather expertly draws together findings from the most recent environmental indicators, previously published domain reports, and rigorously vetted peer-reviewed scientific literature.
Its core purpose is to provide a holistic overview of the nation’s environmental condition, identifying key trends, pressures, and potential future scenarios. By integrating diverse data sources, the report aims to offer a more nuanced and comprehensive understanding than any single study could achieve.
This synthesis is crucial for informing policy and management decisions, highlighting areas requiring urgent attention and guiding future research efforts. It exemplifies a sophisticated approach to environmental assessment and reporting.
Environmental Indicators and Data Collection
Robust environmental reporting, like that seen in New Zealand, relies heavily on carefully selected environmental indicators and consistent data collection methodologies. These indicators serve as quantifiable measures of environmental conditions, allowing for tracking changes over time and assessing the effectiveness of interventions.

The Ministry for the Environment and Stats NZ, under the Environmental Reporting Act 2015, are central to this process. They systematically gather and analyze data across various environmental domains – air, water, land, and biodiversity – to create a comprehensive picture of New Zealand’s environmental health.
Effective data collection requires standardized protocols, rigorous quality control, and ongoing investment in monitoring infrastructure. These indicators are not merely statistics; they are vital tools for informed decision-making and accountability.
Interdisciplinary approaches are crucial for tackling complex environmental challenges, demanding integrated perspectives to foster innovative solutions and sustainable practices for the future.
The Importance of Interdisciplinary Approaches
Addressing environmental issues effectively necessitates moving beyond traditional disciplinary boundaries. The complexities inherent in the relationship between environment and society demand a holistic understanding that integrates insights from diverse fields like geography, sociology, political science, economics, and even the humanities.
Siloed approaches often fail to capture the interconnectedness of environmental problems and their social consequences. For instance, climate change isn’t merely a scientific issue; it profoundly impacts social vulnerability, leading to job losses, displacement, and food insecurity, as highlighted in recent reports. Similarly, deforestation in regions like Meghalaya isn’t just about trees – it’s deeply intertwined with community livelihoods and traditional forest management practices.
An interdisciplinary lens allows for a more nuanced analysis, recognizing the power dynamics, social constructions, and ethical considerations at play. This book champions such an approach, encouraging critical thinking and fostering a more comprehensive understanding of the challenges and opportunities ahead.